Do you stream Facebook Live video on your mobile device?
Wondering how to add a branded image to your live stream?
In this article, you’ll discover how to easily add a logo and call to action to your mobile Facebook Live broadcasts.
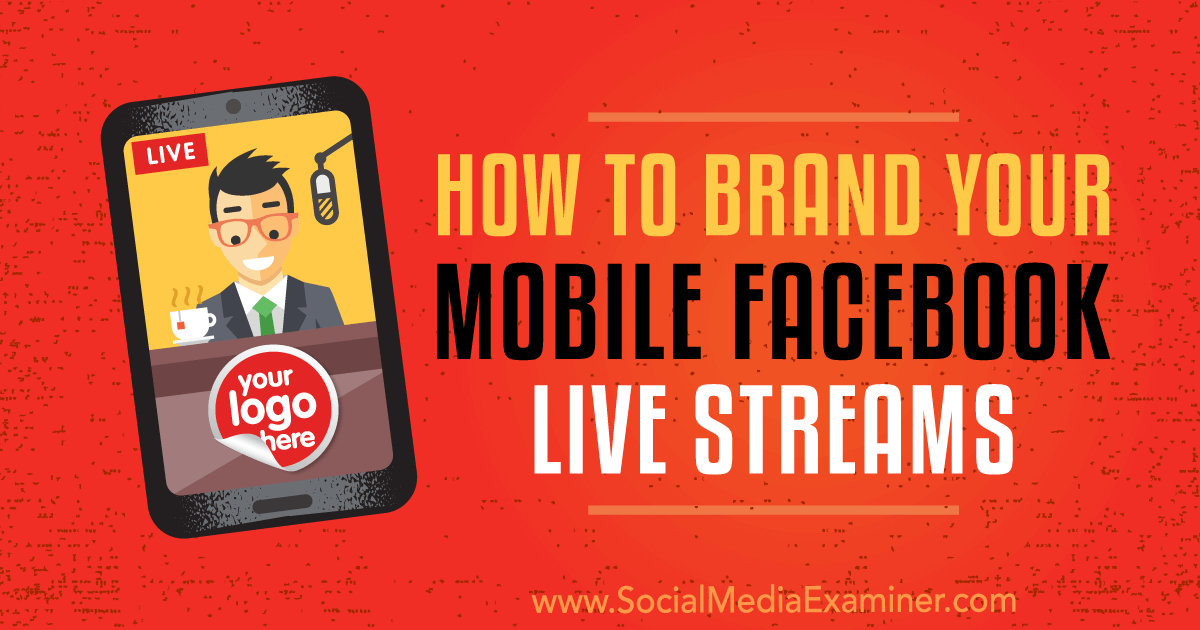
How to Brand Your Mobile Facebook Live Streams by Owen Hemsath on Social Media Examiner.
What Are the Benefits of Branded Live Video?
Facebook Live is a great marketing tool for business owners of all stripes, including retail shops, fitness coaches, and service-based companies. With a mobile phone, a tripod, and some free apps, you can share live video with a branded image without the pressure of hosting a live show.
A branded banner image has several benefits. First, it will grab attention in the news feed. Also, you can design the image to highlight your offer while the actual video demonstrates the value of your products. Even better, producing a Facebook live stream with a branded image doesn’t take a ton of your time and it can position your company as tech-savvy and cool.
For instance, a karate studio uses live video to show what an adult karate class is like. However, the owner can’t talk about an offer while leading a class, and making a direct sales pitch isn’t really the owner’s style. Instead, the image highlights his offer while the live video demonstrates the experience and value he offers as an instructor.
👊🏼Kempo kicks and Kempo hands👊🏼
www.OceansideKarate.comPosted by USSD Oceanside on Thursday, January 18, 2018
With Facebook live video, you can even promote the replay to your target or ideal audience. For example, the karate studio used the video in an ad that targeted 35- to 55-year-old males who live in the immediate area.
Here’s how to get started with branding your live videos.
#1: Create the Branded Image Overlay
Your image design needs to work well in the lower third of the screen. You can create a lower third in any image editing program such as Canva or Photoshop. For a horizontal video, create an image canvas that’s 1280 x 120 pixels, and set the resolution for 144 pixels per inch.
To brand the image, you can include a logo, branded colors, and font. Make sure the text has high contrast with the background and is large enough so your audience can read your offer.
When you’re done, save the image to your phone as a transparent PNG file. You might save the image to Dropbox and then import it into your Photos app. You’ll need to save the image to your phone so it’s available when you go live.
#2: Set Up the Switcher Go App for Live Video
The Switcher Go iOS app is a free tool that’s packed with features and allows you to overlay an image in the lower third of your live video. You can connect the app to Facebook Live and YouTube Live. (Although you can use the Switcher Studio video tools, you only need Switcher Go to add an image to a live video.)
When you first open Switcher Go, you’ll need to follow the on-screen instructions to set up the app. Then tap Facebook Live or YouTube Live to connect the app to your Facebook or YouTube account. (This article uses Facebook as an example.)
#3: Prepare Your Facebook Live Post in Switcher Go
When you prepare a Facebook live video in Switcher Go, you set up the Facebook post title and text that appear along with your live video. You may also want to set privacy and quality settings.
You can skip everything on the settings page, but if you’re streaming for a business, filling out these details is important to reaching and connecting with your audience. To begin, from the Stream To drop-down list, select the page, group, or event to which you want to live-stream. You can choose only the pages or groups for which you are an admin.
Next, give your live video a title. The text you enter in the Stream Title field is used for metadata. This text is also visible on your Facebook page’s Videos tab and makes the videos look organized. Although the stream title doesn’t appear in the Facebook news feed, a title can help someone who’s interested in the replay.
If you leave this blank, the first few characters of your stream description will appear as the title of the video.
In the Stream Description field, enter the post text that appears above your video in the Facebook news feed. Your description can be longer or shorter depending on how you plan to use the live video afterwards.
To illustrate, short text might simply label what the live video demonstrates. The karate studio has labeled a live demo as “Kempo kicks” to keep the focus on the offer and the link. You could similarly label a cool gadget you’re demonstrating from your store or a specific service you want to highlight.
In longer copy, you might ask questions to encourage engagement or write multiple paragraphs explaining the offer.
If you’re using your personal profile to promote your business, you also need to make the post public so everyone can see it. However, if you’re streaming from your Facebook page, the live stream will be public.
You can also choose what the video quality will be. If you have a fast WiFi connection, you can select High or HD. If your WiFi has trouble casting the live video, select Medium or Low instead.
When you’re done choosing the settings for your post, tap the Create Live Stream button and you’re ready to go live with your branded image overlaying the video.
#4: Stream Your Live Video With a Branded Image
After you create the live-stream post, Switcher Go shows you the video interface. Before you actually go live, you can adjust some of the camera settings and add your banner image.
For instance, you can adjust the camera focus (blurred here so it’s easier to see the video controls) using the manual focus slider. Also, choose between the front- or rear-facing camera and mute or unmute the microphone.
In the lower left, tap the icon with two horizontal sliders to open advanced camera settings like exposure and white balance. You can also turn on your phone’s flashlight if you need a camera light. When you tap the Star icon in the lower left, you access the tools for adding your branded image in the lower third of your live video.
After you tap the Star icon, you see two windows pop up at the bottom of the screen. The leftmost image is your main camera and the black box represents one of four total assets that you can add to your Facebook live video. In the black box, click the “+” sign to open up a familiar window where you can easily navigate to your photo library and select the banner.
Next, Switcher Go asks where you’d like to place the banner on your video: as an image, as a lower third, or as a corner bug. Select the Use As Lower Third option.
When you’re done, the banner image appears on-screen. The red outline around the two video boxes means the window is live. During your live video, you can tap on the banner to turn it off and tap again to turn it back on. Swipe down to hide the image controls so you can see the whole recording window.
With your banner added, you’re ready to place your camera on a tripod and begin streaming live to Facebook. At the top right, tap the big red Go Live button to start and stop the live stream. Remember that as soon as you tap that button, you’re live on Facebook. There’s no countdown.
Note: If you want to share the link to your Facebook Live video, you can find the link in Switcher Go by clicking the Share icon, which looks like three dots connected by two lines.
After you go live, you can see how long you’ve been streaming in the upper-right corner of the screen. Also, your video, video description, and banner will appear in the news feed looking something like the following sample. Notice how the Facebook post includes a link to the website and the high-impact lower third offers a discount with a call to click the link in the post text.
#5: Boost the Live Video Post to Your Target Audience on Facebook
After you’ve completed your live stream, Facebook processes the video, which can take some time depending on the length of your stream. Then you can boost the post to your audience and drive traffic to your website.
Simply locate the post on your Facebook page timeline and click the Boost Post button under the video. That will open a window where you can set your audience to reflect the demographics of your ideal audience or typical customer. In this case, the audience targets 35- to 55-year-old males who live in the local area.
The Audience area offers a variety of ad targeting options, and Facebook gives you plenty of ways to target different types of audiences. For this example, I simply selected People You Choose Through Targeting and then a few demographics. When boosting a post, you generally want to start by keeping your ad cost low.
After you click Save, Facebook needs to approve your ad. Assuming your ad is approved, your live video ad is then shown to your targeted audience.
Conclusion
With a quick and easy process like the one outlined in this article, you can produce live video that helps your business get noticed in the Facebook news feed. An image that reflects your branding and includes a valuable offer will help your live video stand out. The image can also pitch the offer for you so you can focus on demonstrating the value of your business.
Although adding live video to your routine might seem overwhelming at first, you’ll get better and faster with practice. As creating high-impact live video becomes more second nature to you, you’ll be able to create better videos, attract more views, and grow awareness and interest in your products and services.
What do you think? What would you show in an image that accompanies your live video? What live video tactics have helped you attract customers to your business? Please share your thoughts in the comments.